For a smoother marmalade, you can use an immersion blender to partially blend the mixture after cooking, but before canning. Be careful not to over-blend it. Adjust the amount of sugar to your liking, depending on the sweetness of the pineapple and apple. If you don't have lemon zest, you can substitute 1/2 teaspoon of lemon juice. Make sure you are using proper canning techniques to ensure the safety and longevity of your marmalade.
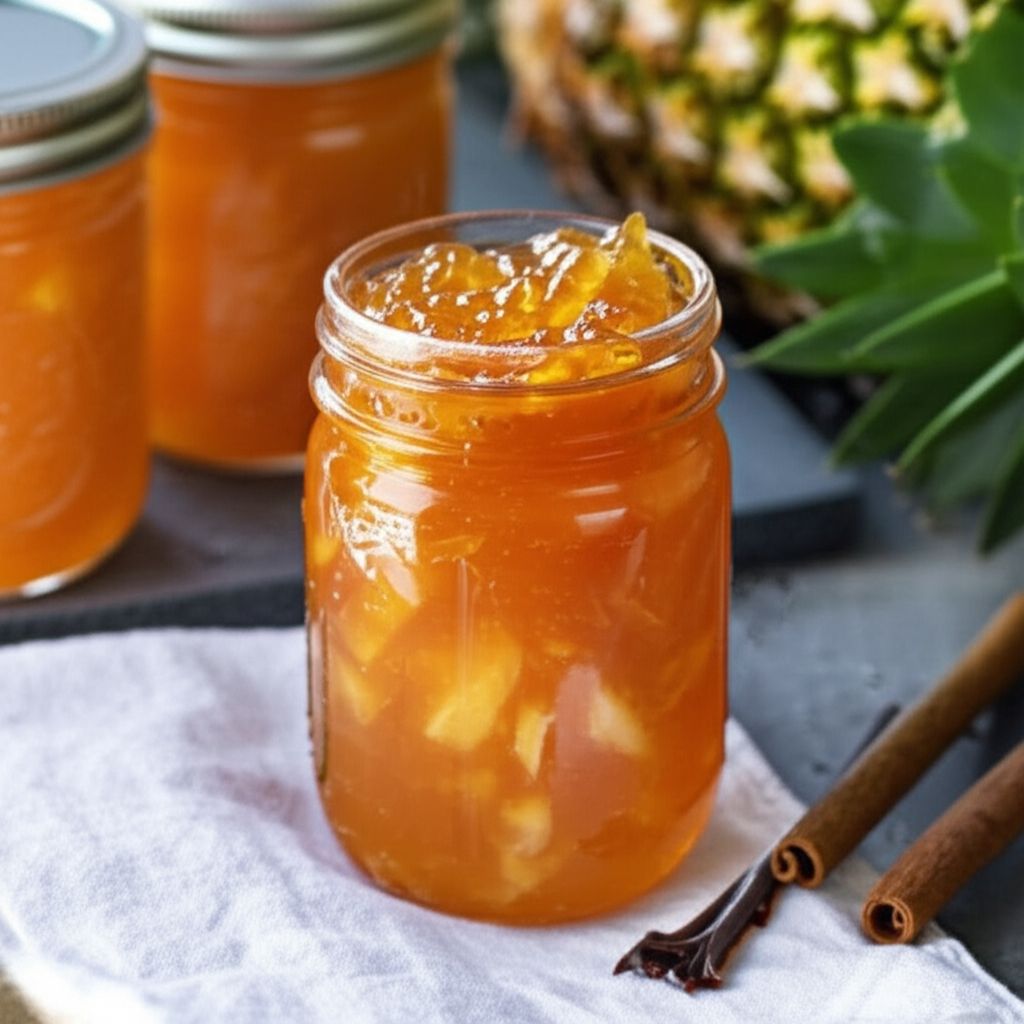
Pineapple-Apple Marmalade Jam
-
PREP TIME20 mins
-
COOK TIME1 hrs 20 mins
-
TOTAL TIME13 hrs 55 mins
-
SERVING16 People
-
VIEWS9
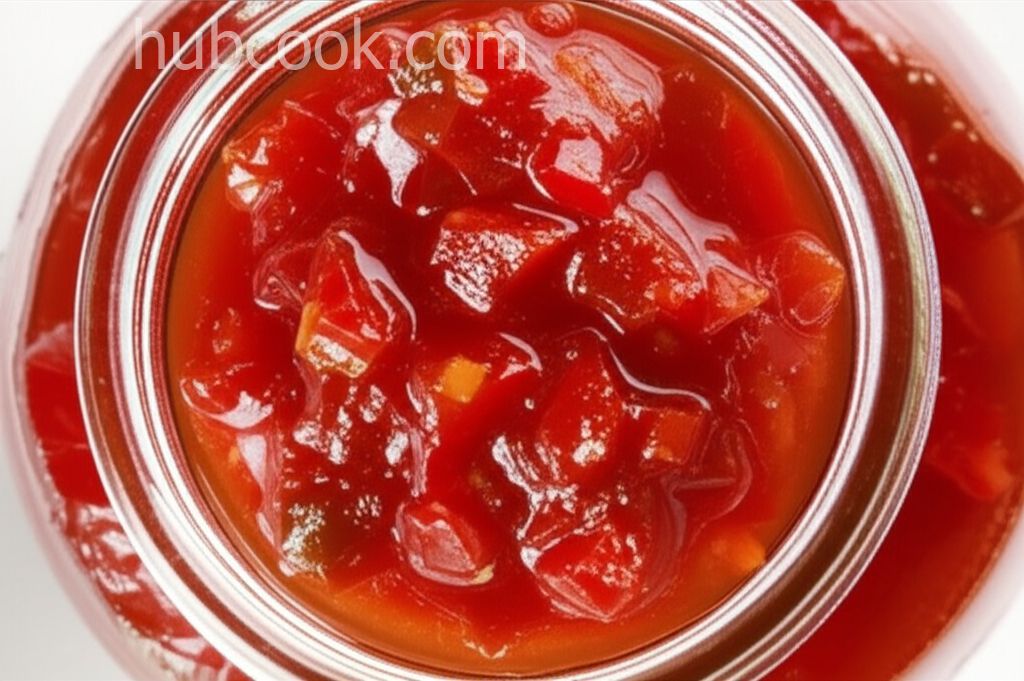
Capture the essence of a tropical sunrise with this vibrant Pineapple-Apple Marmalade. A delightful fusion of sweet pineapple and crisp apple, infused with citrusy notes, creating a spread reminiscent of a pineapple-upside-down cake, perfect for brightening up your morning toast or scones.
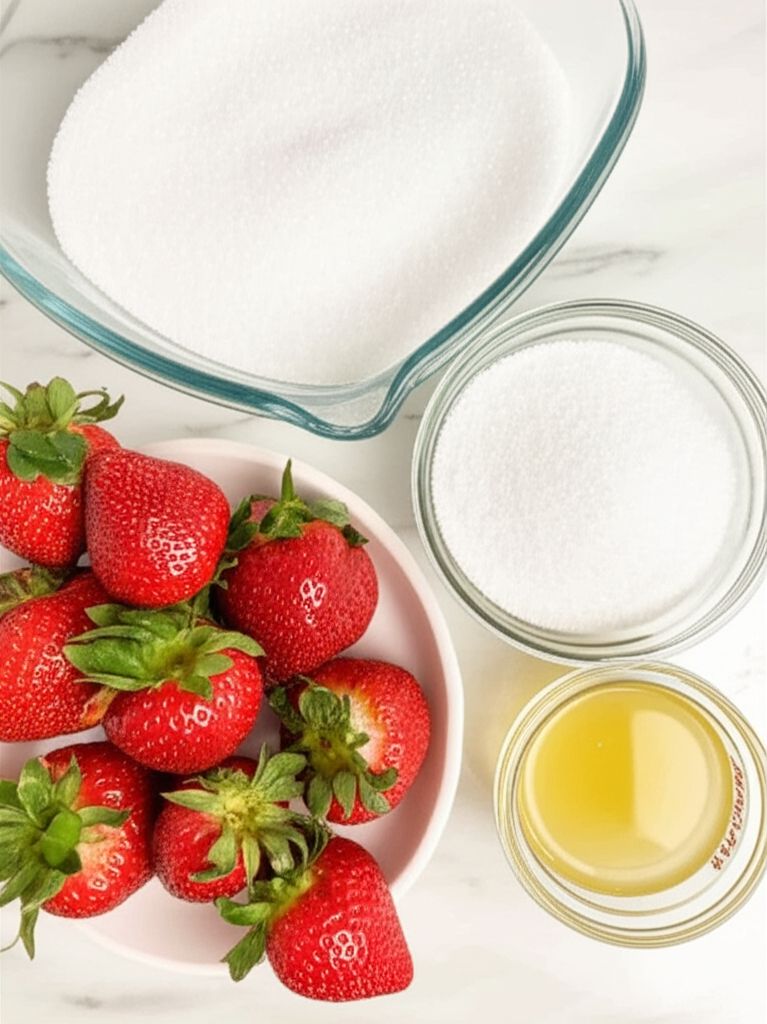
Ingridients
Adjust Servings
Nutrition
-
Carbohydrate35 g
-
Fiber1 g
-
Protein1 g
-
Sodium1 mg
-
Sugar32 g
-
Fat0 g
-
Unsaturated Fat0 g
Follow The Directions
01
StepCombine the chopped pineapple, apple, sugar, orange juice, and lemon zest in a heavy-bottomed pot or Dutch oven. (5 minutes)
02
StepBring the mixture to a boil over medium-high heat, stirring constantly to prevent sticking. (5-7 minutes)
03
StepOnce boiling, reduce the heat to medium-low and continue to cook, stirring frequently, until the pineapple turns translucent and the marmalade thickens. This process usually takes 1 to 1 ½ hours. Monitor closely to prevent burning, especially as the mixture thickens.
04
StepWhile the marmalade is cooking, place 2 or 3 small plates in the freezer. These will be used to test the marmalade's readiness. (10 minutes)
05
StepInspect 2 or 3 small Mason jars for any cracks or imperfections. Discard any damaged jars. Sterilize the jars and lids by boiling them in a large pot of water for 10 minutes. Keep the jars in the hot water until ready to fill. (15 minutes)
06
StepTo test for readiness, remove one of the chilled plates from the freezer and drop a spoonful of marmalade onto it. Return the plate to the freezer for 1 minute.
07
StepRemove the plate from the freezer and gently nudge the marmalade with your finger. If the surface wrinkles and the marmalade stays in place, it is ready for canning. If it runs or is too liquidy, continue cooking and test again every minute until the desired consistency is achieved.
08
StepCarefully remove the sterilized jars from the hot water using canning tongs. Place them on a clean towel-lined surface.
09
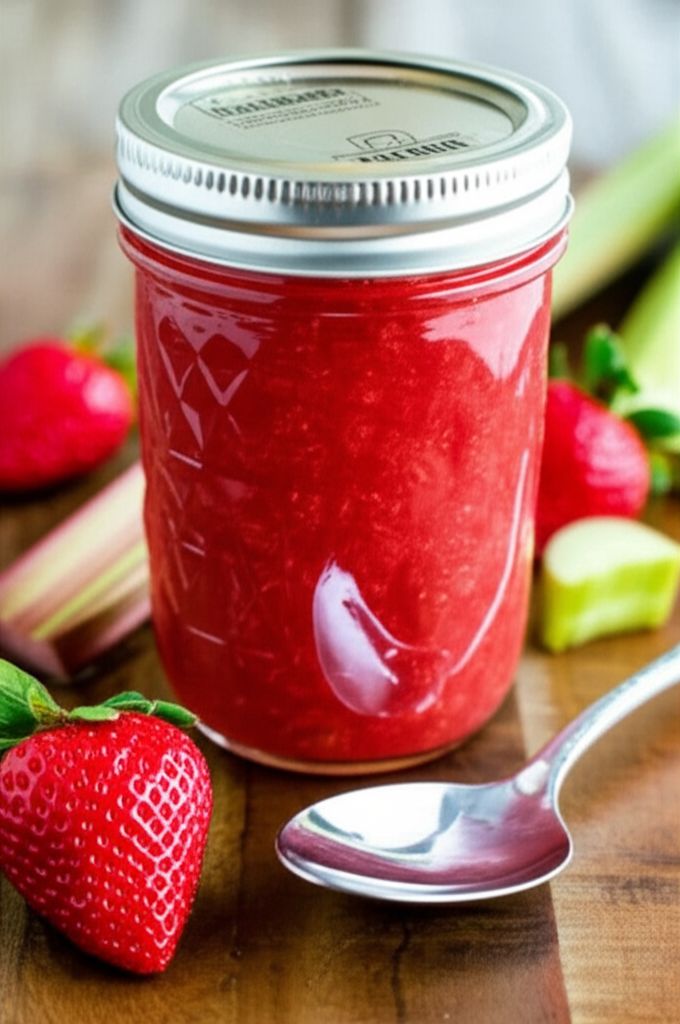
StepLadle the hot marmalade into the sterilized jars, leaving 1/2 to 1/4 inch of headspace at the top.
10
StepRun a clean knife or thin spatula around the inside of each jar to release any trapped air bubbles.
11
StepWipe the rims of the jars with a clean, damp paper towel to remove any spills or residue. This ensures a proper seal.
12
StepCenter the sterilized lids on top of the jars and screw the bands on tightly, but not too tightly. You want them to be secure, but not so tight that air cannot escape during processing.
13
StepPlace a rack in the bottom of a large stockpot or canning pot. Fill the pot halfway with water and bring to a boil.
14
StepCarefully lower the filled jars into the boiling water using canning tongs, ensuring they are at least 2 inches apart. Add more boiling water to the pot, if necessary, so that the water level is at least 1 inch above the tops of the jars.
15
StepBring the water back to a rolling boil, cover the pot, and process the jars for 10 minutes.
16
StepAfter 10 minutes, turn off the heat and carefully remove the jars from the pot using canning tongs. Place them on a towel-lined surface several inches apart.
17
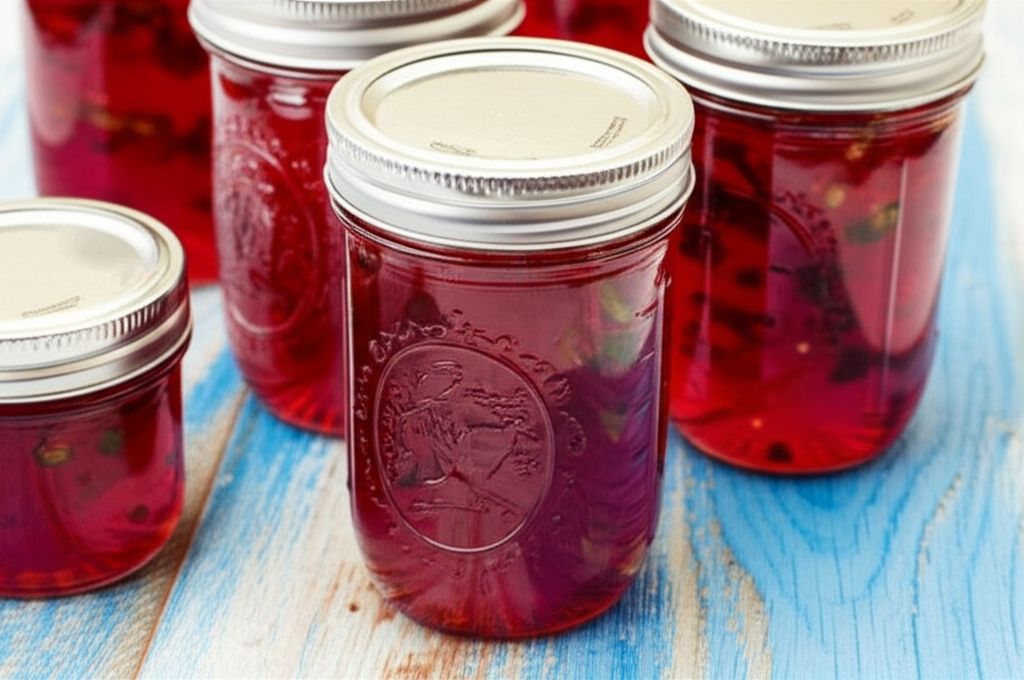
StepAllow the jars to cool completely undisturbed for 12 to 24 hours. As they cool, you should hear a popping sound as the lids seal.
18
StepAfter the cooling period, check the seal of each jar by pressing down on the center of the lid. If the lid does not flex or move up and down, it is properly sealed. If a lid flexes, it is not sealed and the jar should be refrigerated and the marmalade consumed promptly.
19
StepRemove the rings from the sealed jars. This prevents rust from forming during storage. Store the jars in a cool, dark place.
You need to login to claim your token
🔐 Login to get tokenYOU MAY ALSO LIKE
RECIPE REVIEWS
LEAVE A REVIEW
Please Rate
LATEST RECIPES
-
 1
1 -
 2
2 -
 3
3 -
 4
4 -
 5
5
Emma Kovacek
Jun 26, 2025I was a bit intimidated by canning, but this recipe made it so easy. My family loves this marmalade on their morning toast.
Janet Wiza
Jun 24, 2025I had some trouble with the marmalade not setting up properly, but after cooking it a bit longer, it was perfect. Be patient and keep testing!
Dixie Funk
Jun 21, 2025Great recipe! I used Granny Smith apples for a tartness which balanced the sweetness of pineapple, and it worked perfectly!
Aliyah Considine
Jun 18, 2025This recipe is fantastic! The marmalade turned out beautifully, and the flavor is incredible. I added a pinch of ginger for an extra kick!
Rory Goyette
Jun 15, 2025Followed the recipe exactly, and it's delicious! Tastes just like the bottom of a pineapple upside-down cake, as described!