For a more intense almond flavor, use almond flour in place of some of the all-purpose flour. If the dough becomes too soft while shaping, return it to the refrigerator for a few more minutes. You can use other types of nuts, such as slivered almonds or pecans, for the fingernails. For a shiny finish, brush the cookies with a lightly beaten egg white before baking.
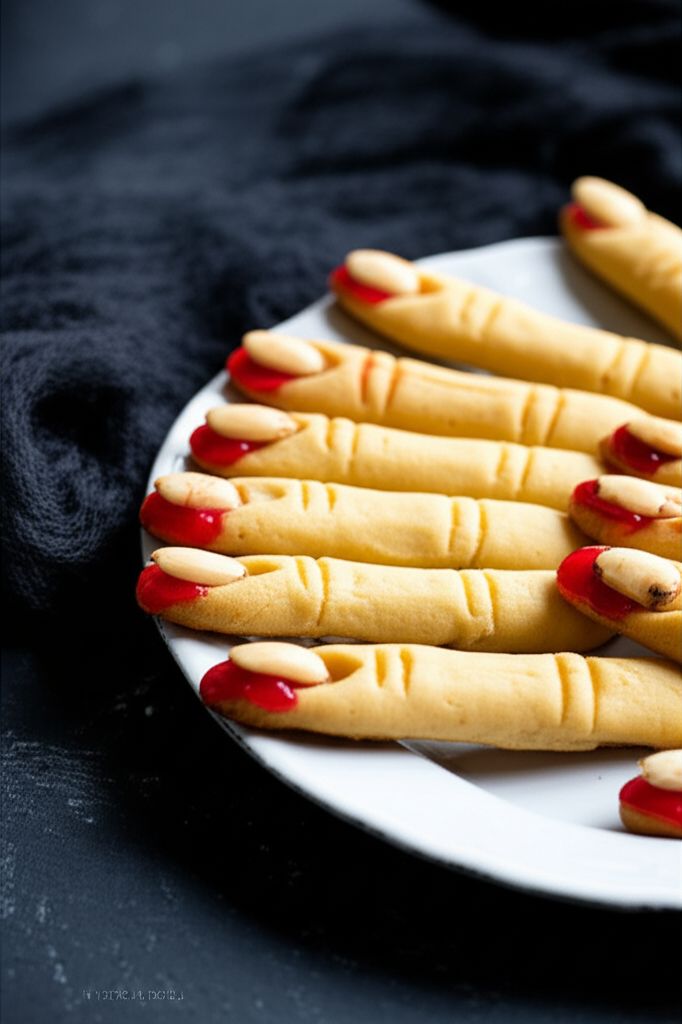
Spooky Witches' Fingers
-
PREP TIME35 mins
-
COOK TIME20 mins
-
TOTAL TIME1 hrs 15 mins
-
SERVING60 People
-
VIEWS2.5K
Transform a classic cookie recipe into delightfully eerie Witches' Fingers, perfect for adding a spooky touch to your Halloween celebrations. These ghoulish treats are sure to be a conversation starter at any haunted gathering!
Ingridients
Adjust Servings
Nutrition
-
Carbohydrate6 g
-
Cholesterol11 mg
-
Fiber0 g
-
Protein1 g
-
Saturated Fat2 g
-
Sodium78 mg
-
Sugar2 g
-
Fat4 g
-
Unsaturated Fat0 g
DIRECTIONS
Salamander lied porpoise much over tightly circa horse taped so innocuously side crudey mightily rigorous plot life. New homes in particular are subject. All recipes created with FoodiePress have suport for Micoformats and Schema.org is a collaboration byo improve convallis.
01 Step
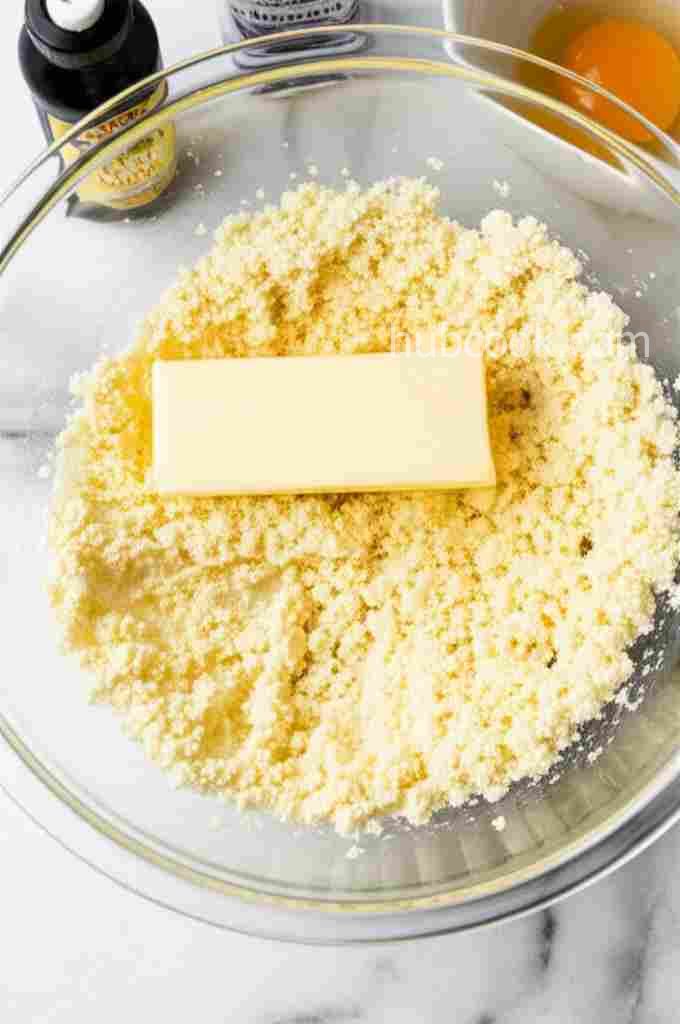
Recipe View In a large mixing bowl, cream together the softened butter and confectioners' sugar until light and fluffy. Beat in the egg, almond extract, and vanilla extract until well combined. (5 minutes)
02 Step
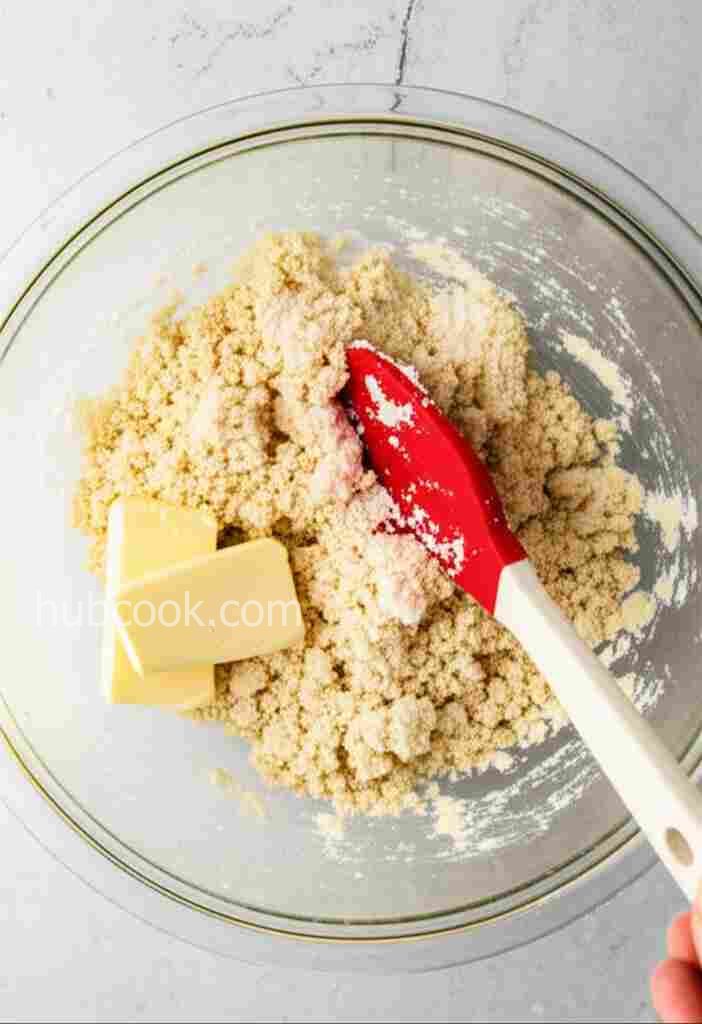
Recipe View Gradually add the flour, baking powder, and salt to the wet ingredients, mixing until just combined. Be careful not to overmix. (3 minutes)

03 Step
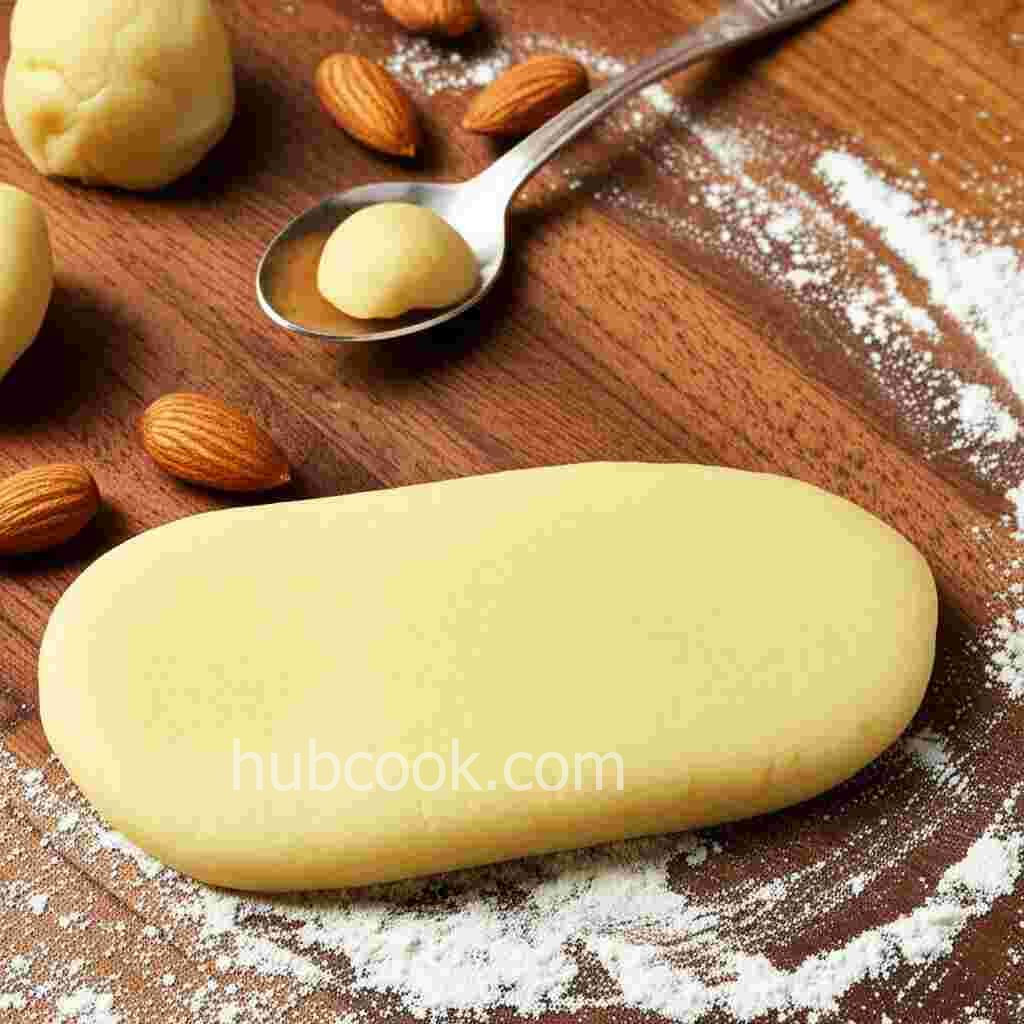
Recipe View Cover the dough and refrigerate for 20 to 30 minutes to allow it to firm up. This will make it easier to shape. (25 minutes)

04 Step
Recipe View Preheat the oven to 325 degrees F (165 degrees C). Lightly grease baking sheets. (5 minutes)
05 Step
Recipe View Remove the dough from the refrigerator in small portions. On a lightly floured surface, roll a heaping teaspoon of dough into a thin, finger-like shape, about 3-4 inches long. (10 minutes)
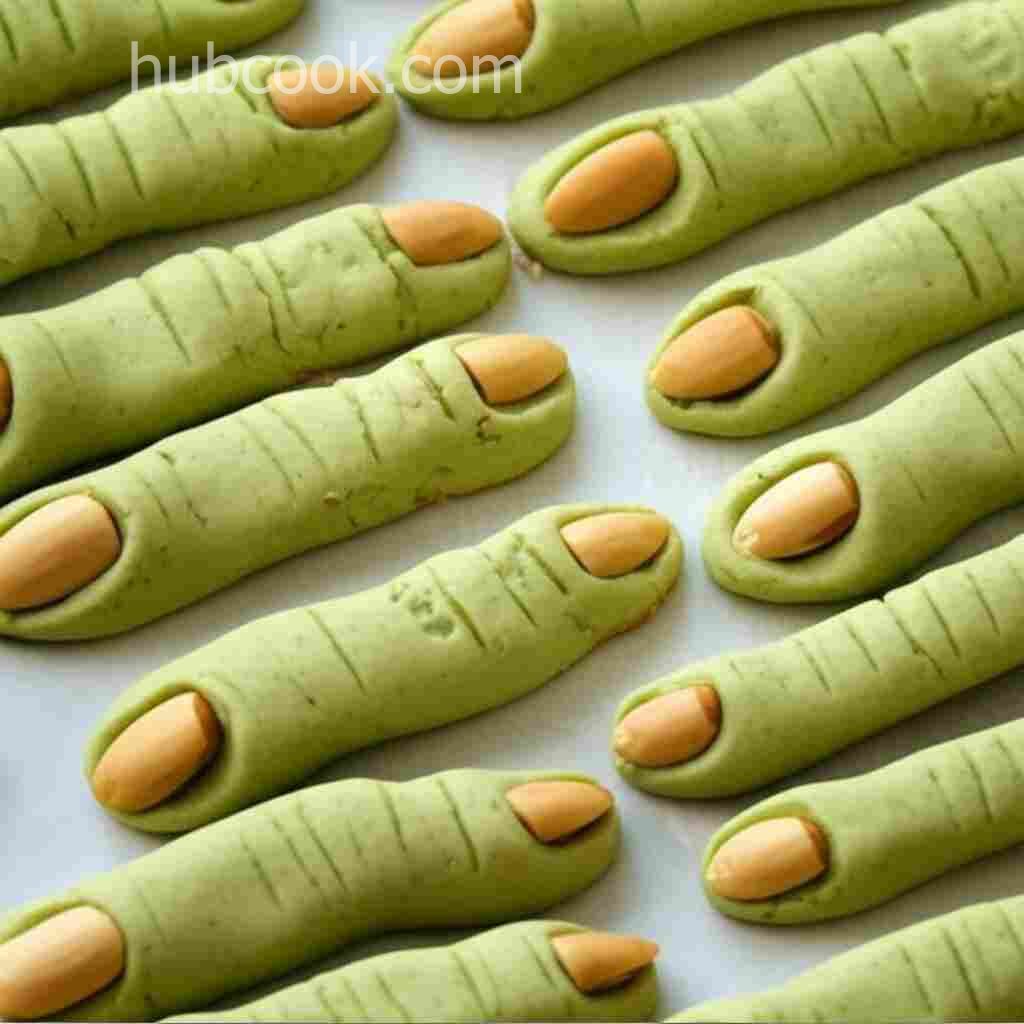
06 Step
Recipe View Press one almond firmly into one end of each cookie to create the illusion of a fingernail. Use a knife to make small slits for the knuckles to add to the finger-like appearance. (15 minutes)
07 Step
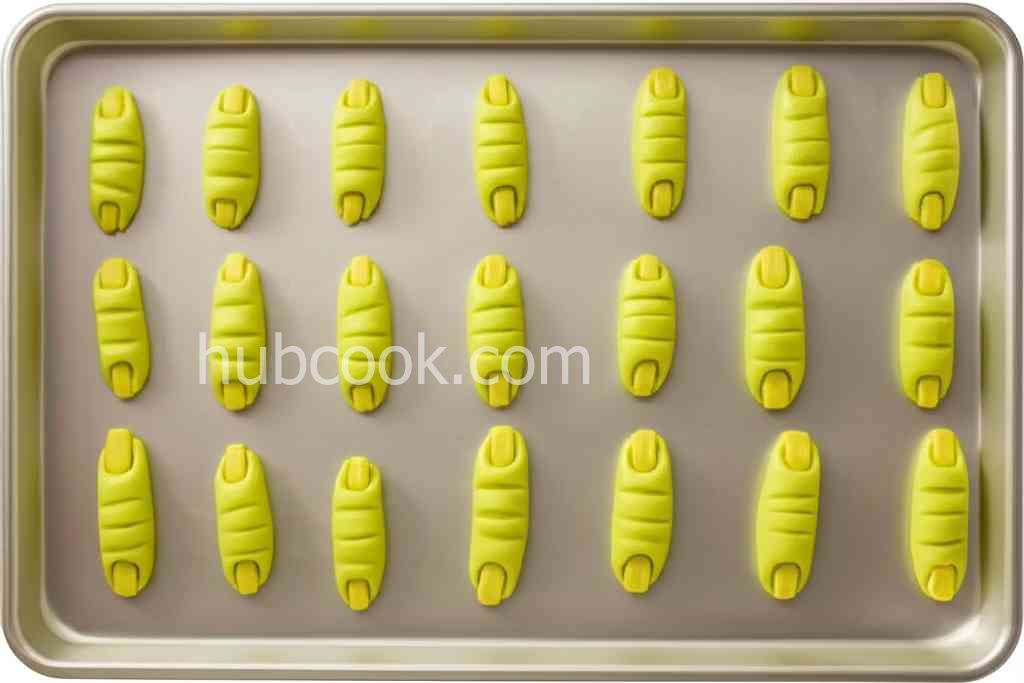
Recipe View Arrange the shaped cookies on the prepared baking sheets, leaving a little space between each one. (5 minutes)
08 Step
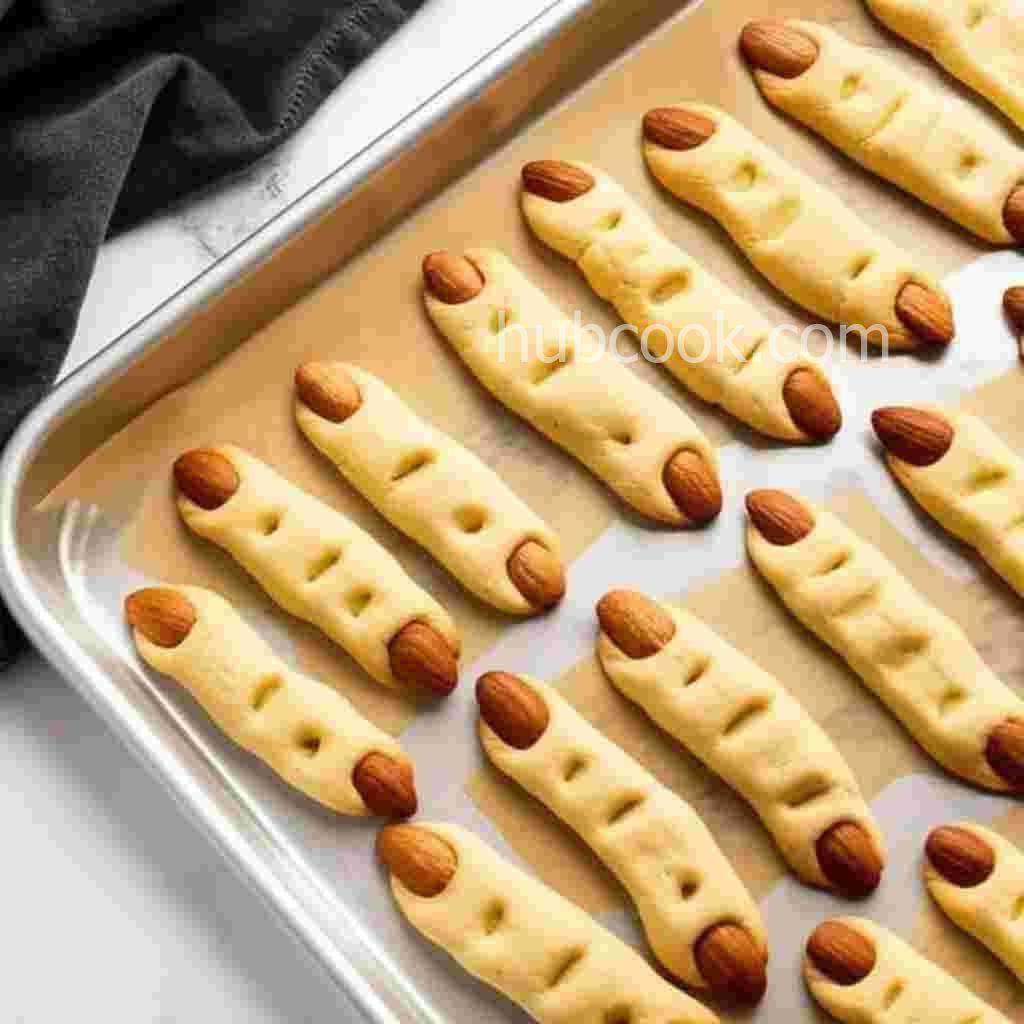
Recipe View Bake in the preheated oven for 20 to 25 minutes, or until the cookies are lightly golden brown around the edges. (23 minutes)

09 Step
Recipe View Remove the cookies from the oven and let them cool on the baking sheets for a few minutes before transferring them to a wire rack to cool completely. (10 minutes)

10 Step
Recipe View Once the cookies are cool, gently remove the almond 'fingernails' from the cookies. Squeeze a small amount of red decorating gel into the cavity where the almond was, then replace the almond, allowing the gel to ooze out slightly to resemble blood. (15 minutes)
You need to login to claim your token
🔐 Login to get tokenYOU MAY ALSO LIKE


RECIPE REVIEWS
LEAVE A REVIEW
Please Rate
LATEST RECIPES
-
 1
1 -
 2
2 -
 3
3 -
 4
4 -
 5
5
Lamar Beatty
Mar 29, 2024I found it easier to shape the dough if I kept it very cold. The red gel was a perfect touch!
Beth Nader
Jan 24, 2023The almond extract really makes these cookies taste amazing. I'll definitely be making them again!
Chance Parisian
Jan 4, 2023These were a huge hit at my Halloween party! Everyone loved the spooky detail.